Easy Danish pastry, and it’s not an oxymoron. No laminating, only minimal pastry folding and the end result is delightful. Plus two kinds of filling for the pastries included in the recipe.
Easy Danish? No such thing!
I have made Danish, aka laminated pastry quite a few times and though the results have been decent, it’s not an experience I’m keen to often repeat.
The block of butter never wants to roll out evenly, the dough tears on contact with said butter which stubbornly peeks through, and the less said about folding the dough with the butter inside, the better.
So I was very distrustful towards the recipe featured in New York Times Cooking.
What? An easy take on the laminated dough classic? I thought it was not going to resemble even remotely what is achieved through toil and slog of making proper Danish. Which, incidentally, is called Viennese in Denmark.
Here you are supposed to simply mix the butter with yeasty flour and some liquid, rest it in the fridge and then roll out once or twice.
At a glance, I hadn’t expected it to work. I’d thought it might be a nice product but would not resemble the flaky and layered genuine article.
What do you know? It does.
It compares really favourably with the real laminated pastry.
It isn’t quite as stratified, nor are those strata as distinctly, airily separated but if sampled side by side, you might have difficulty telling it apart from the true Danish. Considering the substantially smaller effort involved in the making, it’s a triumph.
How to make easy Danish pastry
The process starts like shortcrust pastry. Aha, you think, I’m making a pie! But you don’t really because there’s yeast in the mix.
It’s a very simple process, like making biscuits. Dry ingredients, flour, sugar, yeast and salt are stirred together and ice-cold diced butter is cut into it.
You can use a standing mixer with a paddle attachment, a food processor or just cut the butter into the mix with two knives. Whichever way, it needs to be brief: the point is to coat each globule of butter with the flour mix rather than disperse it into tiny crumbs.
When you’re done, there should be clearly visible pea-sized dots of butter in the bowl.
Wet ingredients are one egg, some milk and a little water beaten together. This should be lightly folded into the dry ingredients until absorbed.
And that’s the first stage – the dough, shaped into a rectangle, will now be wrapped in cling film and stored in the fridge for up to two days.
The folding stage – but it’s easy
If you have tried yourself or even watched videos showing how to laminate dough, you know it’s a daunting exercise.
This is nothing like it. All you need to do is to roll out the butter-studded rectangle of dough, straight from the fridge, into three times its length, then fold back like an envelope. Give it a quarter turn and roll out again, this time in the opposite direction.
You can dust the dough and the rolling pin with extra flour as necessary. Fold it over again and do the final turn, roll and fold.
Re-wrap the dough and return it into the fridge for an hour, after which time repeat the process exactly. It should become smoother and more pliable by then.
After a longer spell in the fridge, three hours or overnight, it’s ready to roll out, cut and shape.
How to shape simple Danish pastries?
The simplest pastries, Danish style, are made from the dough rolled out to a large square, cut into individual squares as large or small as you wish.
Fold the corners of each square into the middle, diamond shape, and let them proof for an hour or so at room temperature, covered with plastic wraps.
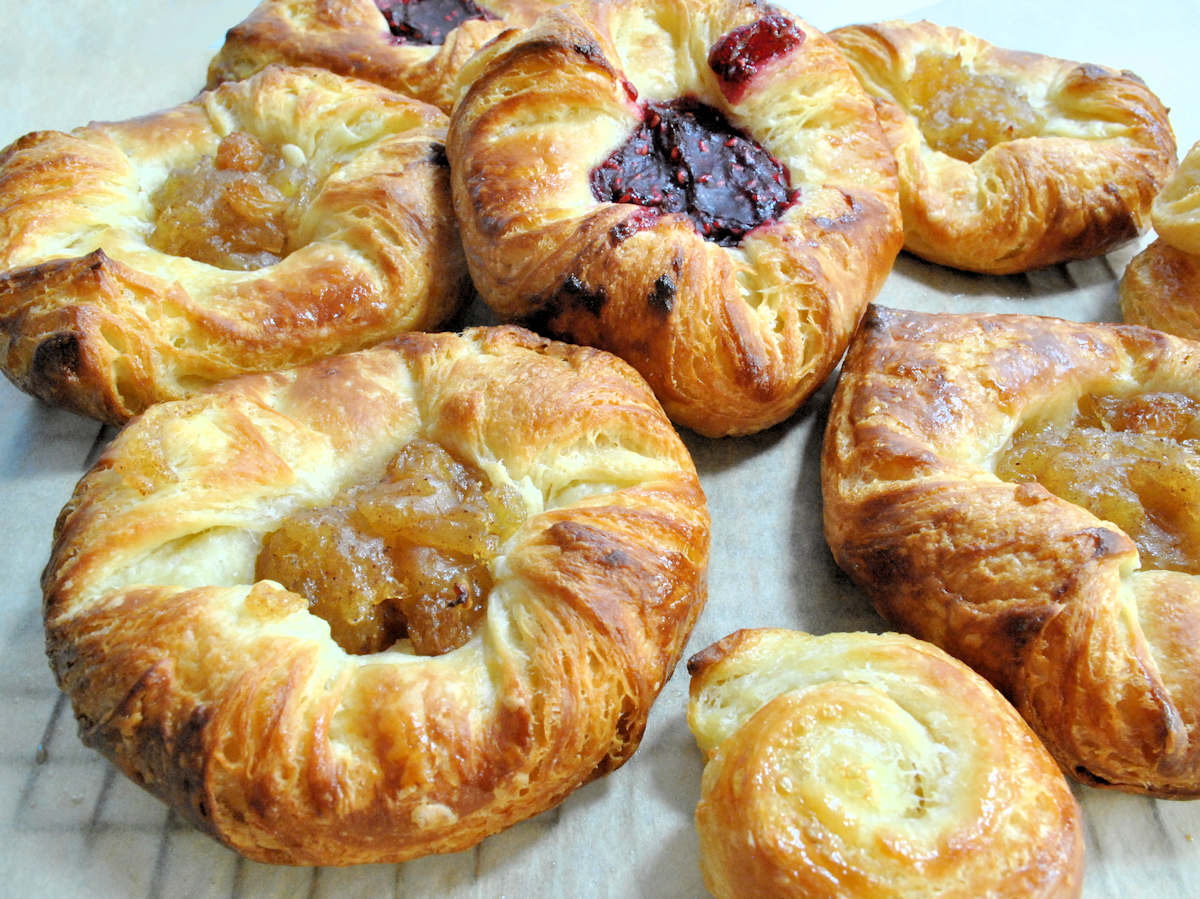
After they’ve puffed up significantly, they can be topped with jam, preserve, candied fruit, cream cheese filling, curd or whatever else you fancy.
It’s better to add the filling after the shaped pastry has risen. Otherwise as it rises, the folded corners might spring open and jettison the filling to the side.
Filling for Danish pastries
I have provided below two easy filling recipes: raspberry and apple. Both are quick to make and worth making in larger quantities, to be frozen for the next pastry or pie occasion. Both are barely sweet if compared with jams, and the addition of some cornflour slurry to the fruit compote is what holds it in shape when spooned onto pastries.
Raspberry filling can be made with frozen or fresh berries and it involves briefly cooking the fruit with a little sugar, then thickening it with some cornflour.
Apple filling uses the same method, with cooking apples chopped into pieces simmered with sugar and cinnamon. They need to be mashed a little when sofetned, then also thickened with cornflour slurry.
Both fillings keep well in the fridge so can be made ahead.
You can use the same recipe for a different kind of fruit, to make blueberry or apricot, strawberry or peach filling.
Is the dough suitable for croissants?
It’s a wonderful dough/pastry and a massive shortcut as compared with proper laminating, but unfortunately it’s not suitable to make croissants.
Instead of layered, flaky pastry you’d get a lumpy crescent which, though perfectly edible, does not merit to be called croissant.
More pastry recipes
Butter tarts with maple syrup, traditional Canadian treats. Classic butter tarts with flaky pastry, they should be filled only halfway up to stop the filling from boiling over.
Kouign amann, pronounced kween ah-mon, is Breton butter pastry, similar to croissant but with added sugar and extra butter. My recipe is a cheat’s kouign amann, easier to make and not quite as calorific as the traditional pastry from Brittany.
Hamantaschen are Jewish pastries filled with utterly delightful poppy seed mixture. 'Haman's pockets' or oznei Haman are a traditional treat for the celebration of Purim.